Setting up Lightning Address on your own domain and server
In short, you’ll be able to accept Lightning Network payments on alias@youdomain.com. Anyone who would like to send you some sats will input the Lightning Address in their LN wallet and then choose the amount. Easy as that.
There are some prerequisites to make this work:
- You should have your domain’s DNS records pointing to your public IP address.
- You should have a LN node running.
- Your router has to be configured to accept HTTP GET request from the internet and forward it to your HTTP server (more on that later).
The above steps are not trivial. You will need a solid understanding of networking to set it up properly. You’ll likely be exposing your home network to the internet which should not be taken lightly. Make sure you follow security best practices.
In case you’re all good on the above, you’re very close! The flow is the following:
Step 1.Whenever someone inputs alias@youdomain.com in the LN wallet, the wallet will send a HTTP GET request to https://youdomain.com/.well-known/lnurlp/alias.
 Step 2.
 You’re supposed to accept the request and return a JSON object with the following structure:
{
  callback: String, // The URL from LN SERVICE which will accept the pay request parameters
  maxSendable: MilliSatoshi,
  minSendable: MilliSatoshi,
  metadata: String, // Metadata json which must be presented as raw string here, this is required to pass signature verification at a later step
  commentAllowed: Number,
  tag: "payRequest" // Type of LNURL
{
Most of the properties are self-explanatory. The callback is another endpoint on your server (or the same one, see the next step) that will be called by the LN wallet after the user specifies the amount they want to send you.
Step 3.The user inputs the amount they want to send you. The LN wallet knows the minimum and maximum they can send, because you provided that information in the previous step. You also provided the callback the LN wallet will call along with the amount parameter.
 Step 4.
 Your server is now responsible for generating a LN invoice. It will need to connect to your LN node and call addInvoice method (in case of LND implementation) with the amount received as request parameter. You can use REST or gRPC as a communication protocol. There is one more detail that needs to be addressed to make it work. When generating the LN invoice, we also need to pass to addInvoice function sha256 hash of the metadata returned in step 2. The param name is description_hash. The payment request string is returned back - that’s the actual invoice. We return another JSON object where pr is the payment request:
{
  pr: String, // bech32-serialized lightning invoice
  successAction: Object or null, // An optional action to be executed after successfully paying an invoice
  routes: [] // array with payment routes, should be left empty if no routes are to be provided
{
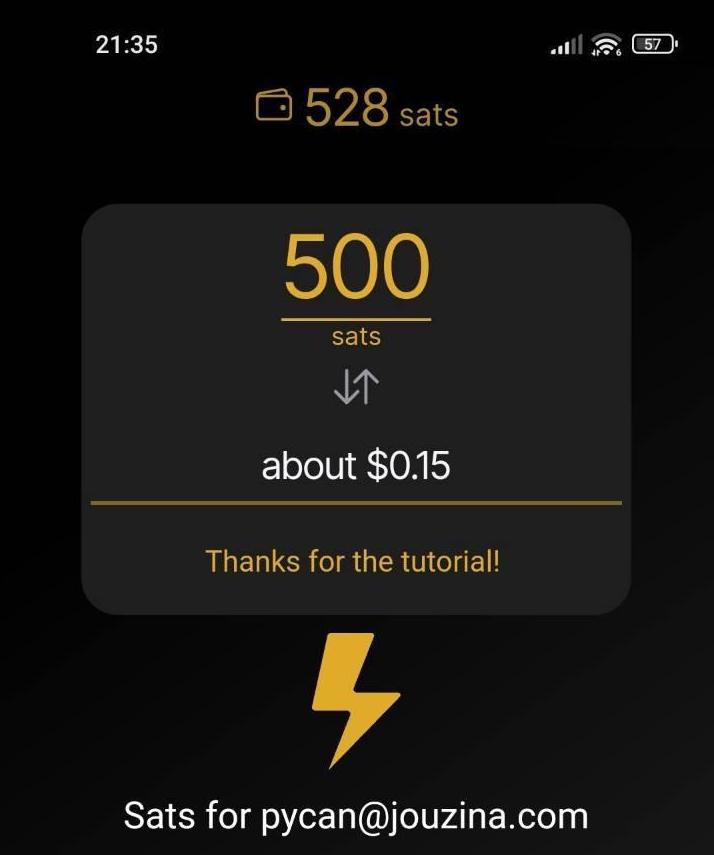
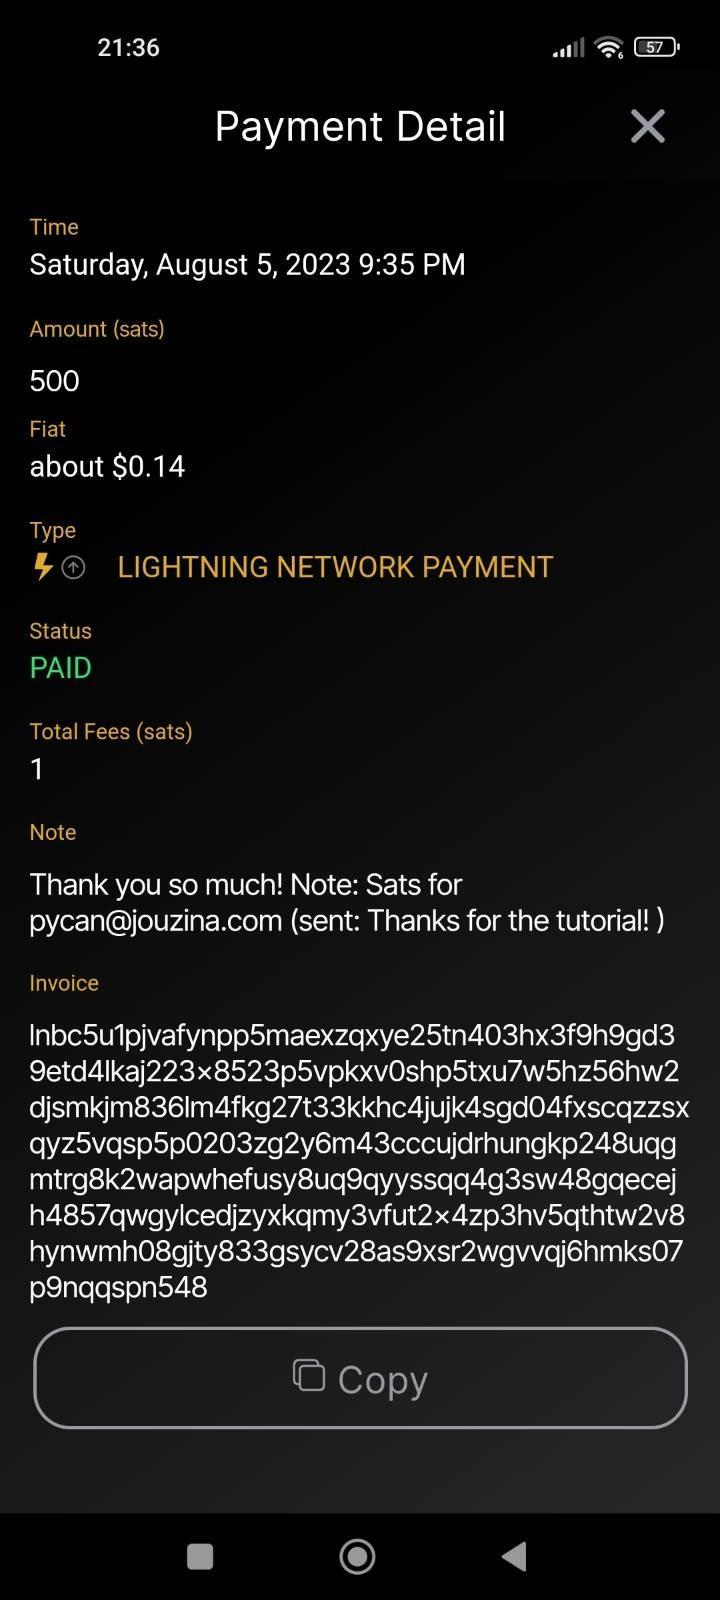
The successful payment to the Lightning Address looks like this.
I’m providing a link to a repo with my own implementation. I can’t say it’s 100% correct as I’m just learning all this stuff as well, but it works for my case and I hope it can serve at least as an inspiration for yours.
https://github.com/pycan-jouza/lightning-address-web-serverHere’s a more detailed specification with all the available options.
https://github.com/lnurl/luds/blob/legacy/lnurl-pay.mdIf you have any questions, don’t hesitate to create an issue in my GH repo.
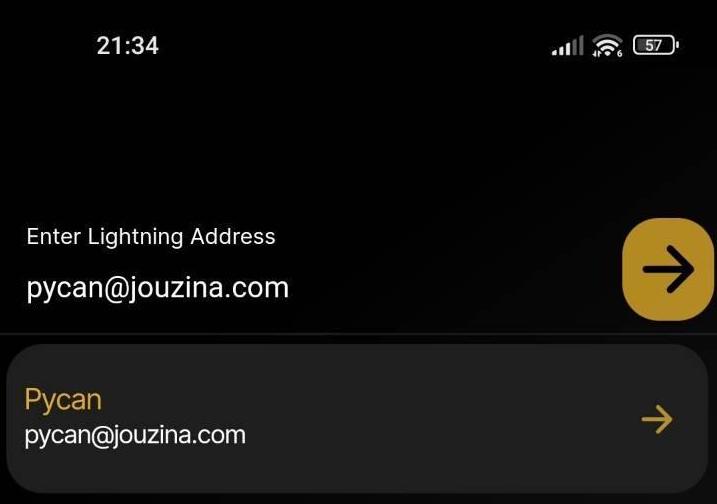
Also, if you found this tutorial helpful, I’d appreciate a few symbolic sats on pycan@jouzina.com (to make sure it works!).